Part 3: Sending transactions
To send a transaction to Tezos, a dApp creates the transaction, including its parameters. Then it sends the transaction to the user's wallet application. With the user's approval, the wallet encrypts ("signs") the transaction with the user's private key and sends it to Tezos.
In this section, you add functions to the application that send a transaction that creates ("mints") an NFT on Tezos. The transaction calls a pre-deployed smart contract that manages NFTs. In a later section, you will deploy your own contract to manage your NFTs, but for now you can use the pre-deployed contract to learn about how it works.
The pre-deployed contract
You can see the pre-deployed contract by looking up its address KT1NbqYinUijW68V3fxboo4EzQPFgRcdfaYQ on a block explorer such as TzKT:
https://shadownet.tzkt.io/KT1NbqYinUijW68V3fxboo4EzQPFgRcdfaYQ
The block explorer shows the transactions that the contract has received and information about the tokens that it manages. Usually the block explorer has a Tokens tab for contracts that manage tokens. For example, TzKT shows the tokens like this:
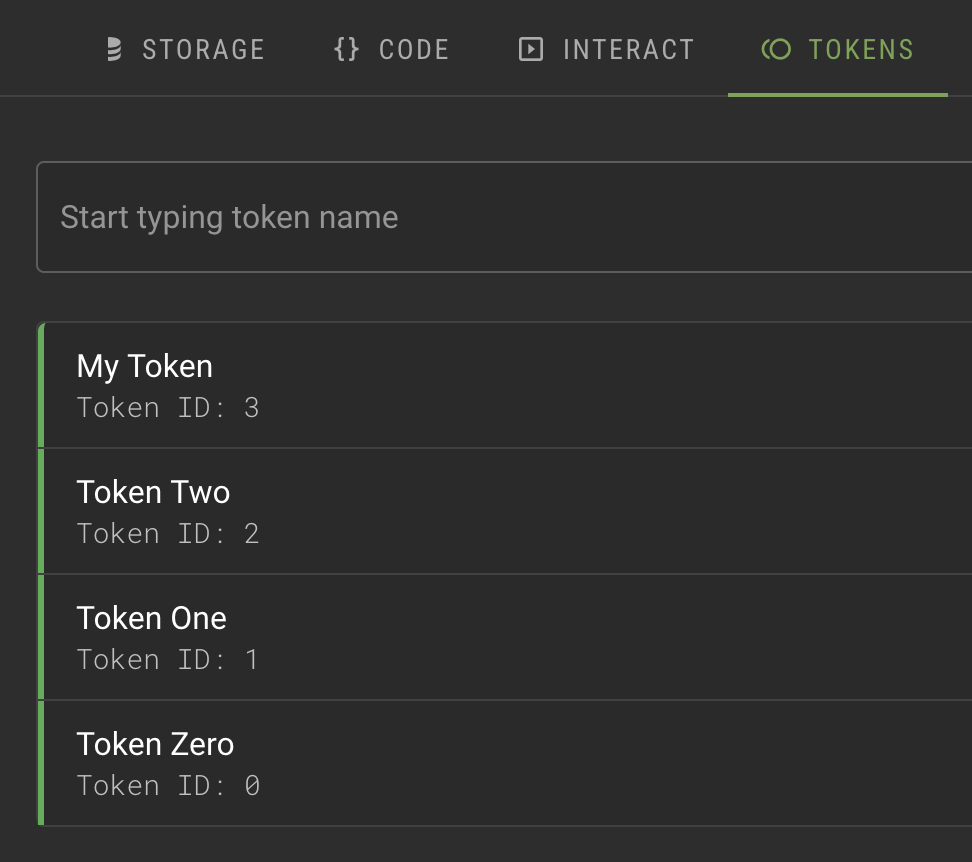
Normally, contracts that manage tokens have restrictions on who can mint tokens, but for the purposes of the tutorial, this contract allows any account to mint NFTs.
Minting NFTs
To call a smart contract, you need the address of the contract, the name of the entrypoint to call, and a properly formatted parameter.
-
In the
App.sveltefile, in the<script>section, add a constant with the address of the pre-deployed contract:const nftContractAddress = "KT1NbqYinUijW68V3fxboo4EzQPFgRcdfaYQ"; -
Add a constant with a pre-deployed image. The application will use this image to represent the NFT in wallet applications.
const defaultImage = "https://gateway.pinata.cloud/ipfs/QmRCp4Qc8afPrEqtM1YdRvNagWCsFGXHgGjbBYrmNsBkcE"; -
Add a function called
createNFTthat creates an NFT, first checking if the button is active because the wallet is connected:const createNFT = async () => {
if (!buttonActive) {
return;
}
buttonActive = false;
statusMessage = "Minting NFT; please wait...";
// Code from the next few steps goes here...
} -
Further inside the function, create the metadata for the token:
// Create token metadata
const metadata = new MichelsonMap();
metadata.set("name", stringToBytes("My Token"));
metadata.set("symbol", stringToBytes("Tok"));
metadata.set("decimals", stringToBytes("0"));
metadata.set("artifactUri", stringToBytes(defaultImage));
metadata.set("displayUri", stringToBytes(defaultImage));
metadata.set("thumbnailUri", stringToBytes(defaultImage));
These are the metadata fields that the pre-deployed contract expects for new tokens. When you create your own contract you can define the fields, but these fields are commonly used for Tezos FA2 tokens, including NFTs.
Note that the value of the
decimalsfield is set to zero because the token cannot be divided like a fungible token can.Also note that each field is converted from a string to bytes because token metadata is stored as a key-value map with string keys and byte values.
-
Create the parameter for the transaction:
const mintItem = {
  to_: address,
  metadata: metadata,
};

const mintParameter = [mintItem];
There is no standard way that FA2 contracts mint tokens; in fact, FA2 contracts are not required to have a
mintentrypoint. In this case, the mint entrypoint accepts a list of tokens to create, with each list item including the address of the token owner and the metadata for the new token. You can set up your contract to mint tokens in any way. -
Within a
try/catchblock, create an object that represents the contract and call itsmintentrypoint by adding this code:try {
Tezos.setWalletProvider(wallet);
console.log("getting contract");
const nftContract = await Tezos.wallet.at(nftContractAddress);
console.log("minting");
const op = await nftContract.methodsObject.mint(mintParameter).send();
console.log(`Waiting for ${op.opHash} to be confirmed...`);
const hash = await op.confirmation(2).then(() => op.opHash);
console.log(`Operation injected: https://shadownet.tzkt.io/${hash}`);
} catch (error) {
console.error("Error minting NFT:", error);
} finally {
statusMessage = "Ready to mint another NFT.";
buttonActive = true;
}When you call the
Tezos.wallet.at()method, Taquito creates an object that represents the contract. This object has amethodsObjectproperty that has a method for each entrypoint in the contract. In this way, thenftContract.methodsObject.mint()method represents a call to the contract'smintentrypoint.The complete function looks like this:
const createNFT = async () => {
if (!buttonActive) {
return;
}
buttonActive = false;
statusMessage = "Minting NFT; please wait...";
// Create token metadata
const metadata = new MichelsonMap();
metadata.set("name", stringToBytes("My Token"));
metadata.set("symbol", stringToBytes("Tok"));
metadata.set("decimals", stringToBytes("0"));
metadata.set("artifactUri", stringToBytes(defaultImage));
metadata.set("displayUri", stringToBytes(defaultImage));
metadata.set("thumbnailUri", stringToBytes(defaultImage));
const mintItem = {
to_: address,
metadata: metadata,
};
const mintParameter = [mintItem];
try {
  Tezos.setWalletProvider(wallet);

  console.log("getting contract");
  const nftContract = await Tezos.wallet.at(nftContractAddress);

  console.log("minting");
  const op = await nftContract.methodsObject.mint(mintParameter).send();

  console.log(`Waiting for ${op.opHash} to be confirmed...`);
  const hash = await op.confirmation(2).then(() => op.opHash);
  console.log(`Operation injected: https://shadownet.tzkt.io/${hash}`);
} catch (error) {
  console.error("Error minting NFT:", error);
} finally {
  statusMessage = "Ready to mint another NFT.";
  buttonActive = true;
}
} -
In the
<main>section, add a button to call thecreateNFTfunction. The<main>section looks like this:<main>
<h1>Simple NFT dApp</h1>
<div class="card">
{#if wallet}
<p>The address of the connected wallet is {address}.</p>
<p>Its balance in tez is {balance}.</p>
<button on:click={disconnectWallet}>Disconnect wallet</button>
<button on:click={createNFT}>Create NFT</button>
{:else}
<button on:click={connectWallet}>Connect wallet</button>
{/if}
<p>{statusMessage}</p>
</div>
</main> -
Run the application with the command
npm run devand connect your wallet as you did previously. -
Click the Create NFT button and approve the transaction in your wallet.
-
Verify that the NFT was created by looking up the transaction hash in a block explorer. Here are some ways to get the transaction hash:
- Open the browser console and find the message that starts with
Operation injected. - Click the link in the confirmation window in your wallet application.
- Open the contract in a block explorer and look at the most recent transaction or search for your address in its recent transactions.
For example, this transaction shows the address of the token creator, the
mintentrypoint, and the name of the new token: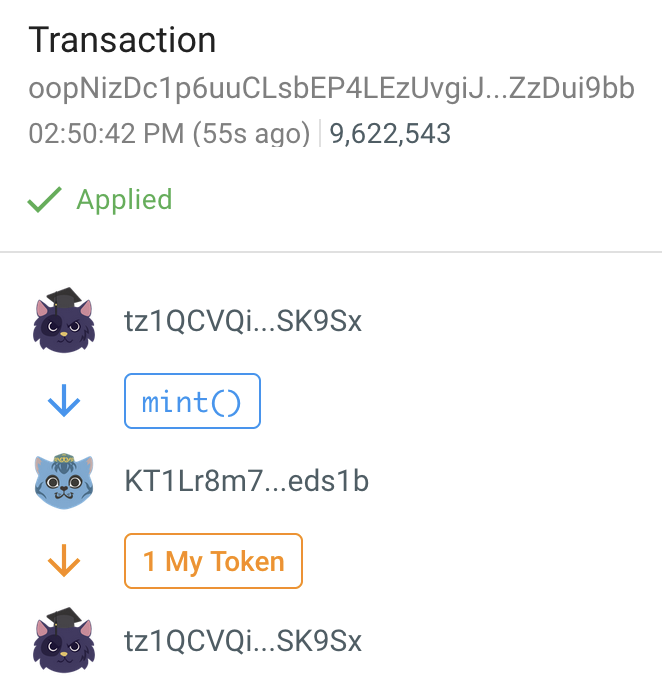
- Open the browser console and find the message that starts with
Viewing the NFT in your wallet
Because the contract follows the FA2 standard, Tezos wallets can show information about it. However, your wallet may not immediately be aware that you have the token (check the tab for NFTs). If your wallet does not display the token automatically, you can add it manually to see it and work with it:
-
Copy the address of the contract:
KT1NbqYinUijW68V3fxboo4EzQPFgRcdfaYQ. -
Open your wallet and sign in.
-
Switch the wallet to use the Shadownet testnet instead of Tezos Mainnet. Shadownet is a network for testing Tezos applications where tokens are free so you don't have to spend real currency to work with your applications.
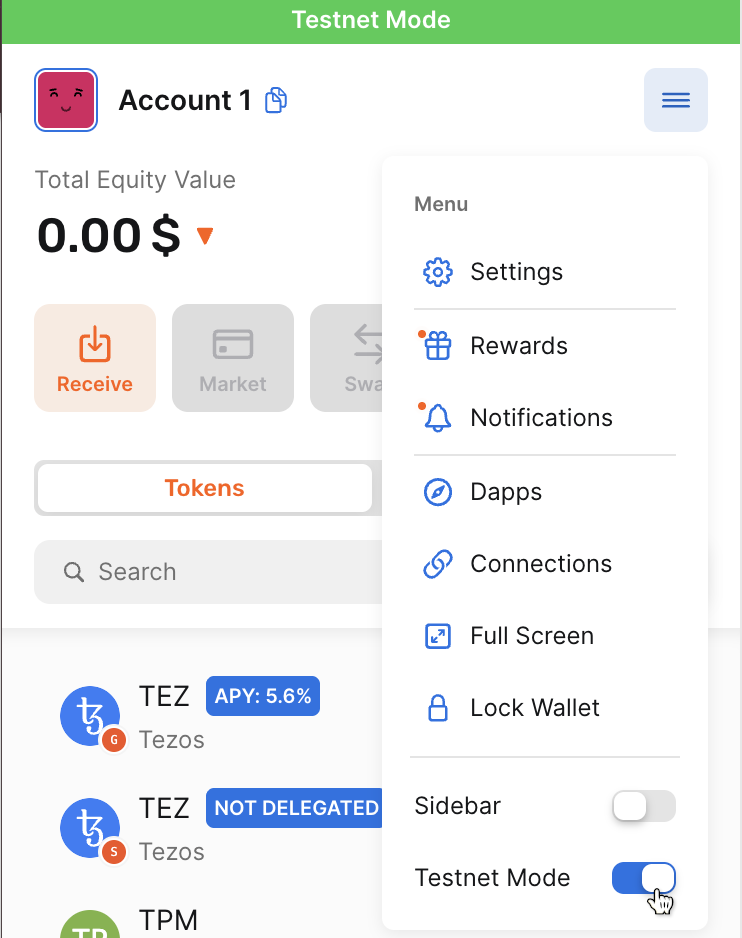
For example, for the Temple browser wallet:
-
Expand the menu at top right and then turn on Testnet mode, as in this picture:
-
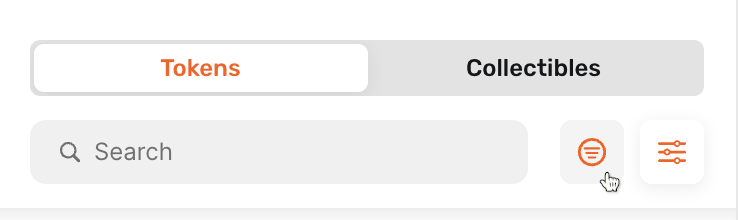
Above the list of tokens, click the display options button:
-
Under Filter by network, expand All Networks.
-
Select Shadownet:
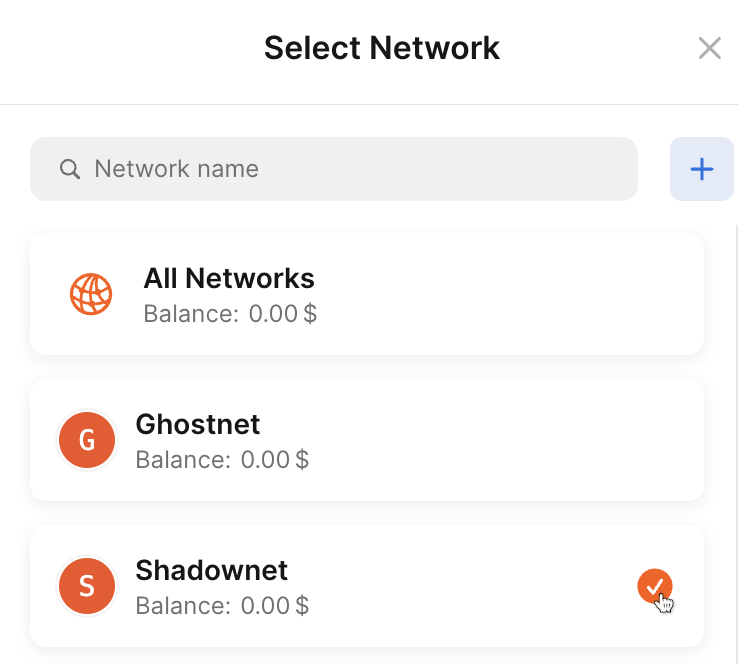
Now Temple shows your token balances on the Shadownet test network, primarily your tez balance. The wallet does not show your contract's token because it does not show custom tokens by default.
-
-
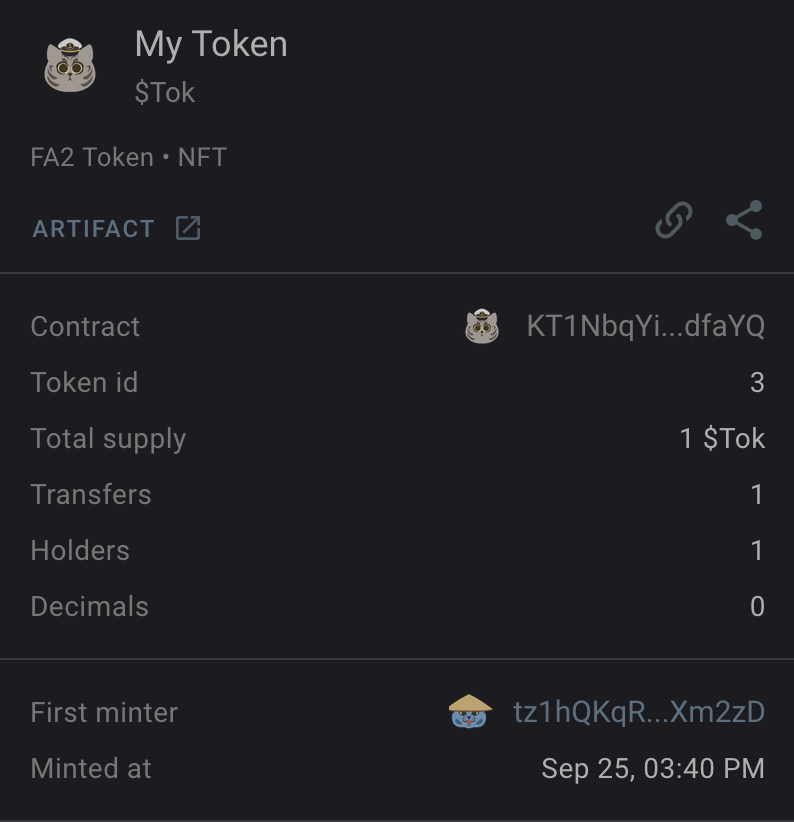
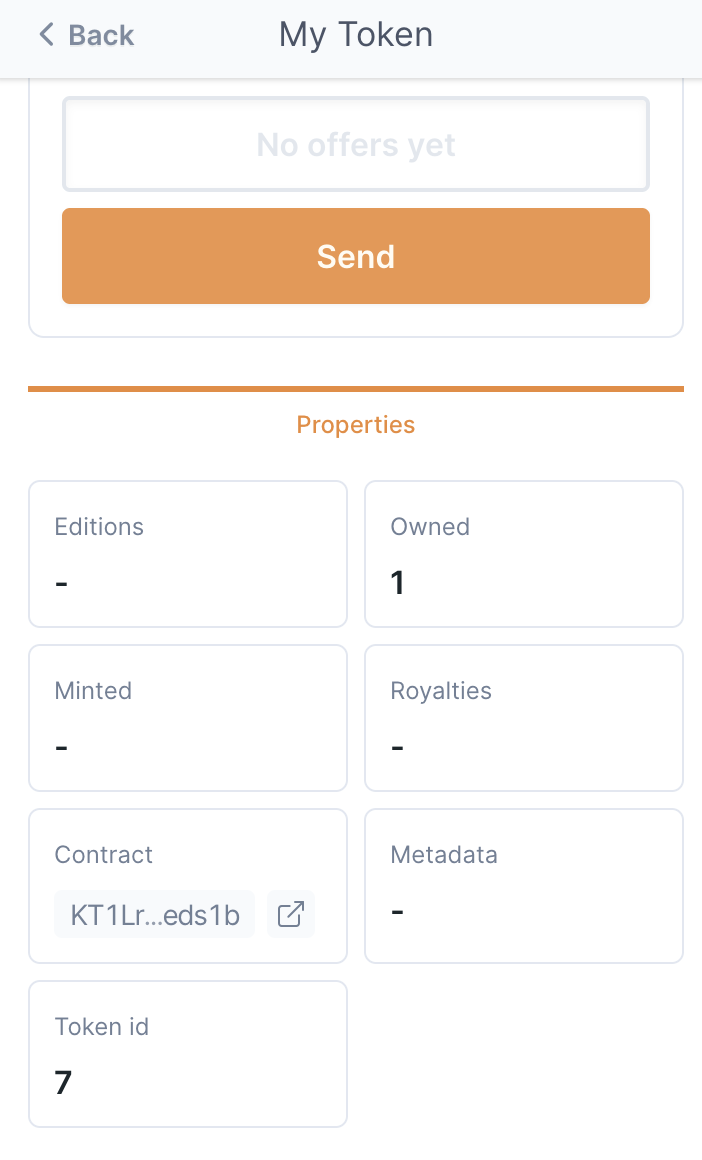
Get the ID of the token that you created.
Each NFT in the contract has an ID. The first token has the ID 0, the next one is 1, and so on. You can see the ID of your token by going to the list of tokens in the contract, selecting your token, and looking at the Token id field in the metadata, as in this example:
-
Add your token to the list of tokens that are displayed in the wallet:
-
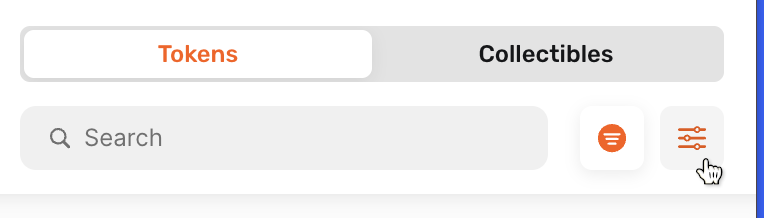
In the wallet, above the list of tokens, click the filter button:
-
Click Add token.
-
Make sure that the Shadownet network is selected.
-
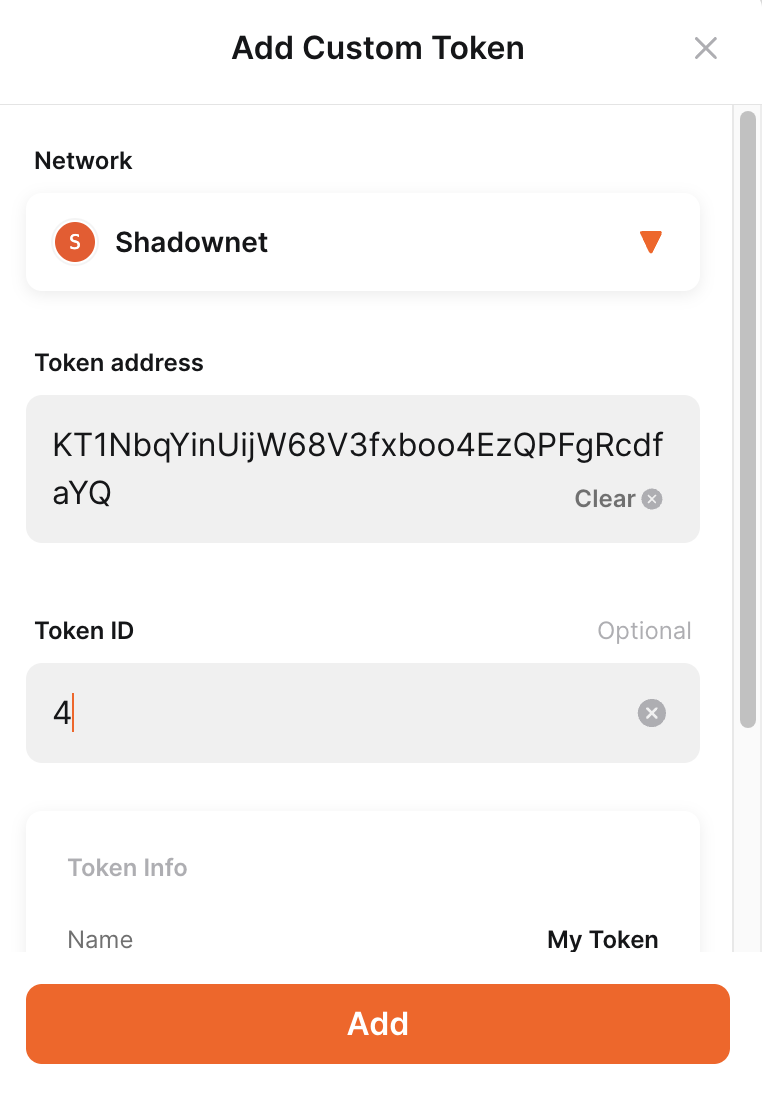
Add the token address and ID, as in this picture:
-
Click Add.
Now the token is shown in the list of tokens in the wallet, on the "NFTs" tab:
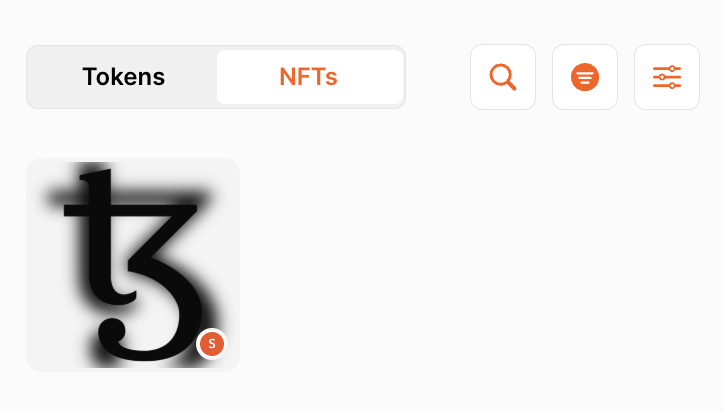
You can click the token to see information about it and to send it to another account. Because the contract is FA2-compliant, wallets can perform operations on the token without any further information.
-
Now you can create NFTs with your application and the built-in contract. In the next section you start creating your own contract to create NFTs your own way. Continue to Part 4: Creating the contract.