Part 4: Publish on the Android store
Your game will be more successful if you publish it on the Android or Apple store. A recommendation is to start with Android as it is easy and cheaper than the iOS version.
Bundle for Android
-
Install the Android SDK.
-
Modify the name of your app, open the
capacitor.config.jsonfile and change the"appId":"dev.marigold.shifumi"and"appName": "Tezos Shifumi"properties. -
Hack: to build on Android, change
vite.config.tsto remove theglobalfield from the configuration.export default defineConfig({
define: {
"process.env": process.env,
//global: {},
}, -
In the
ionic.config.jsonfile, change the Ionic config from React to a custom type build.{
"name": "shifumi",
"integrations": {
"capacitor": {}
},
"type": "custom"
} -
Stay in the app folder and prepare the Android release. These lines copy all files to android folder and the images resources used by the store.
ionic capacitor add android
ionic capacitor copy android
npm install -g cordova-res
cordova-res android --skip-config --copy
ionic capacitor sync android
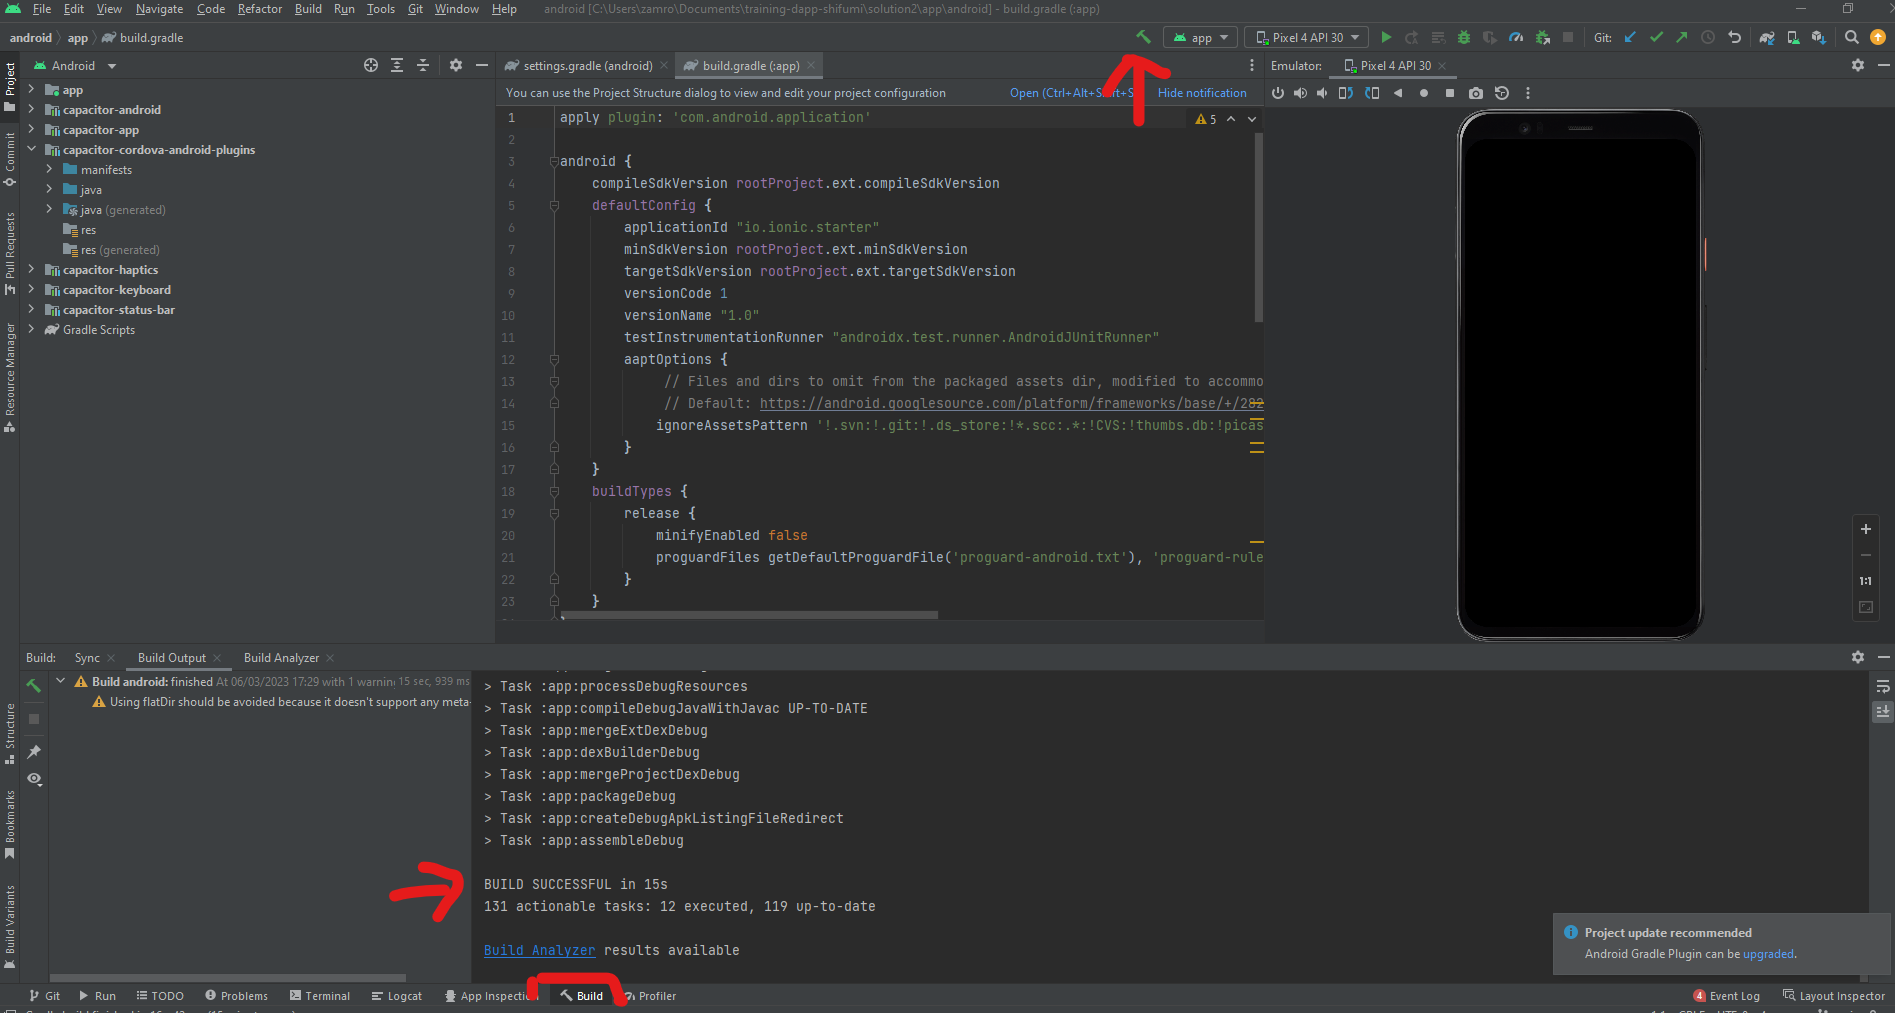
ionic capacitor update androidOpen Android Studio and do a
BuildorMake Projectaction.Note 1: in case of broken Gradle:
ionic capacitor sync androidand click sync on Android studio > build.Note 2: If you have
WSL2and difficulties to run an emulator on it, install Android studio on Windows and build, test, and package all on Windows. Push your files to your git repo, and check the.gitignorefile for theandroidfolder to verify that there are no filters on assets.-
Comment the end lines in the file
ionic.config.json:# Cordova plugins for Capacitor
#capacitor-cordova-android-plugins
# Copied web assets
#app/src/main/assets/public
# Generated Config files
#app/src/main/assets/capacitor.config.json
#app/src/main/assets/capacitor.plugins.json
#app/src/main/res/xml/config.xml -
Comment out the
node_modulesanddistin the.gitignorefile at your root project because it requires files from @capacitor and you need to install these libraries:#node_modules/
#/dist -
Force it to be included on committed files:
git add -f android/app/src/main/assets/ ; git add -f android/capacitor-cordova-android-plugins/ ; git add -f node_modules ;and push to git. -
Try the
BuildorMake Projectaction on Android Studio again.
Start the emulator of your choice (or a physical device) and click
Run app.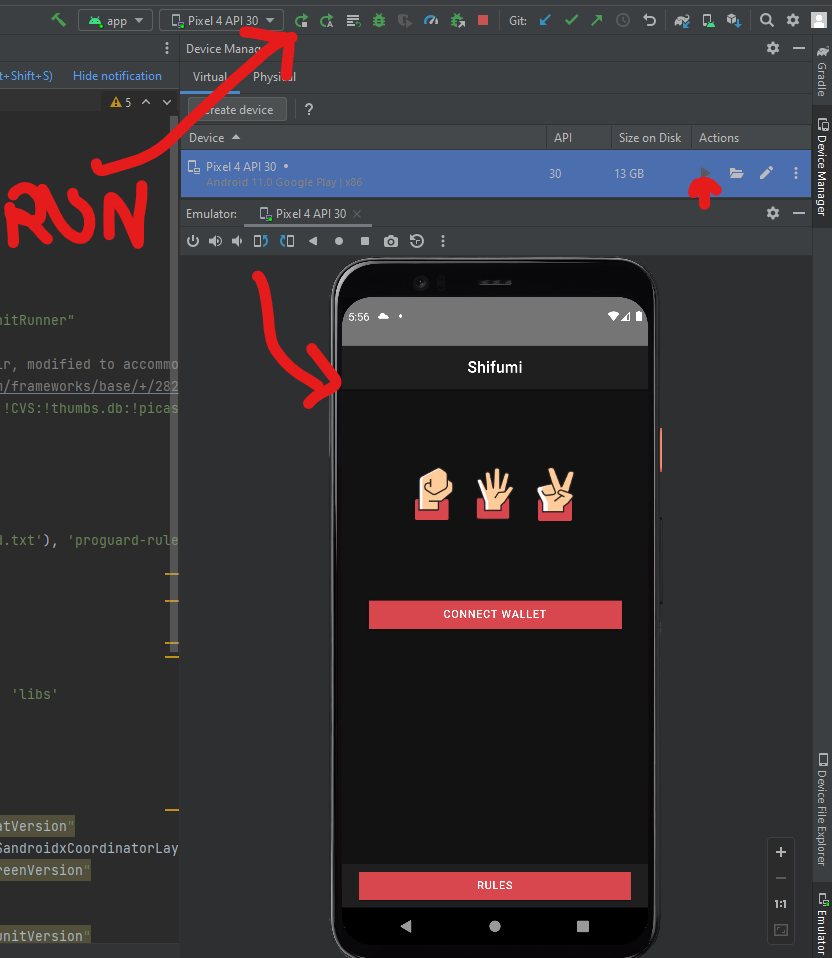
Some mobile wallets do not work with emulators, so consider using a web wallet like Kukai.
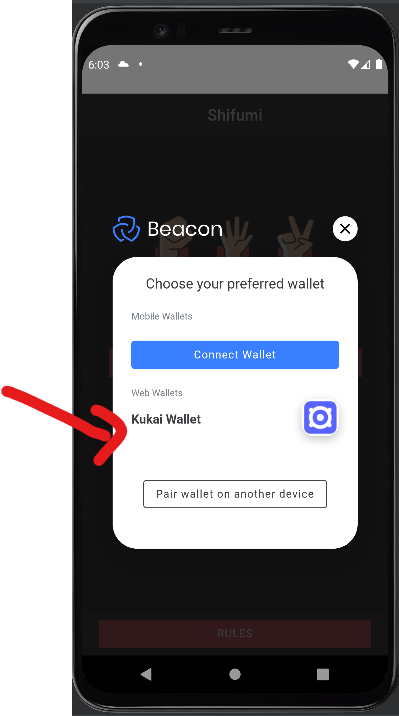
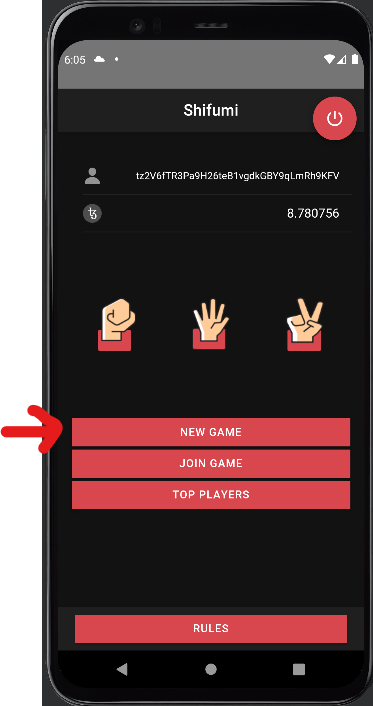
When you are connected, you can start a new game.
-
-
Invite Alice to play, click the address of the opponent player, and enter this code on your Android Studio terminal:
adb shell input text "tz1VSUr8wwNhLAzempoch5d6hLRiTh8Cjcjb"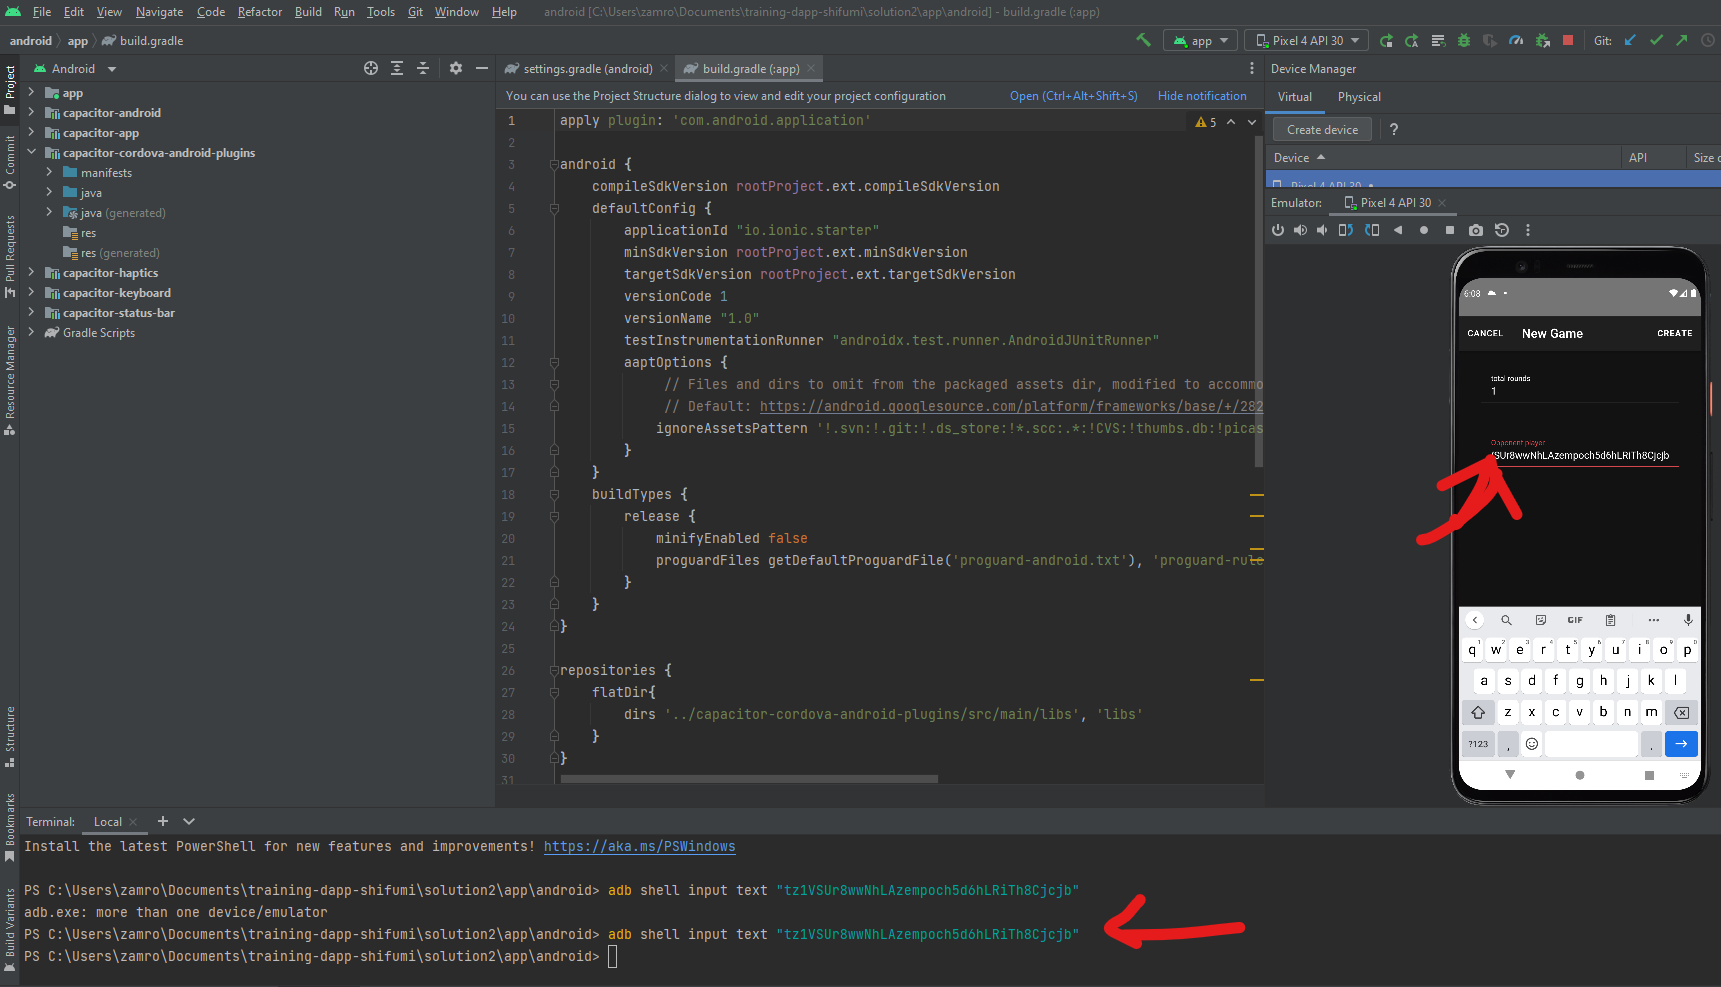
-
Click Create on the top right button.
-
Confirm the transaction in Kukai and come back to the app.
Perfect, the round is starting!
-
Now you can run the web version on VScode, connect with alice, and play with your 2 players.
Watch the video here to see how to play a full party.

-
Publish your app to the Google Play store.
To publish your app to the Android store, read the Google documentation. You need a developer account: https://developer.android.com/distribute/console/
It costs 25$ for life (for information: an Apple developer account costs 99$/ year).
-
In Android studio, go to Build > Generate Signed bundle / APK.

Follow the Google instructions to set your keystore and click Next. Watch where the binary is stored and upload it to the Google Play console app.
After passing a (long) configuration of your application on Google Play Store and passing all Google validations, your app is published and everyone can download it on Earth.
Summary
Having a Web3 game has many advantages like the transparency and inheritance of in-game currency. Developing the dApp is not so different from a Web2 application. Also the process of bundling to Android and iOS is similar and uses the common tools from Google and Apple.
I hope you enjoyed this tutorial and don't hesitate to leave feedback to the Marigold team!